
The
challenge:
Customise the pattern: Make your own version of the Jackie Jacket by La Maison Victor. Use your creativity to transform this pattern into something awesome and true to your style. You’ll also have to make an additional skirt, dress or pants, but you can chose whatever pattern you want for those. This challenge is all about personal style.
My entry:
Inspiration for the challenge:
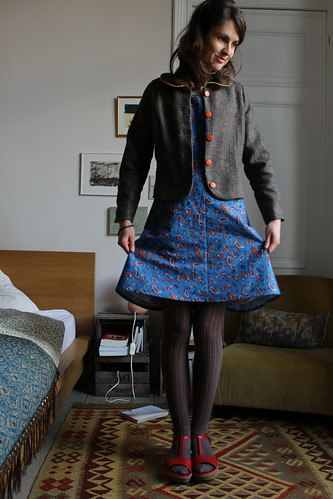
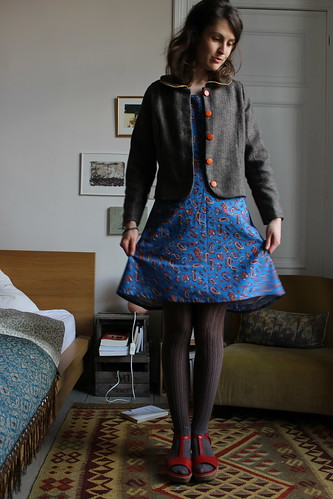
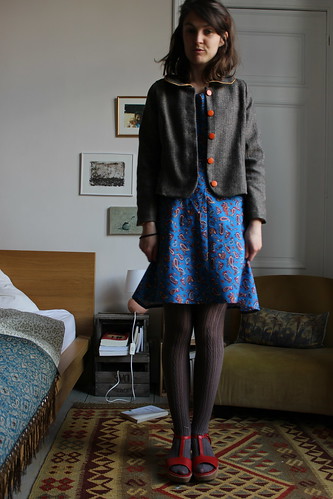
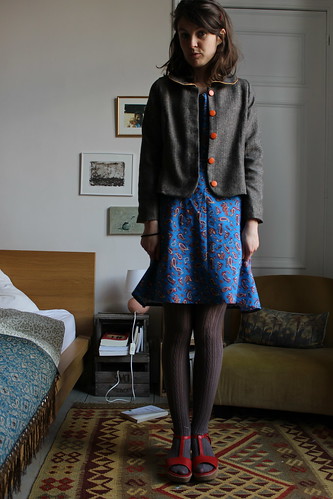
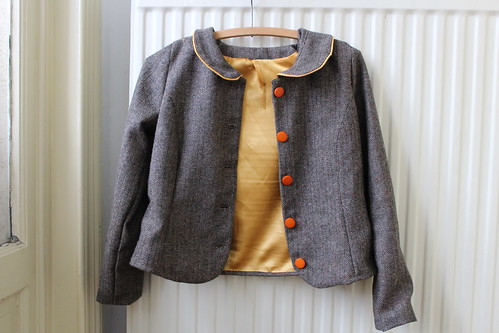
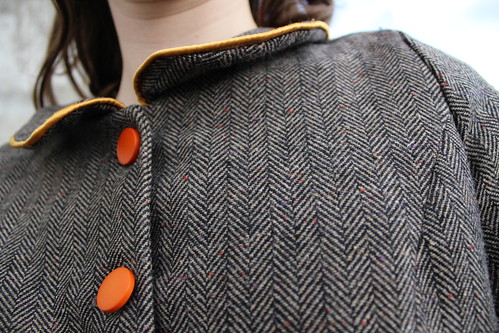
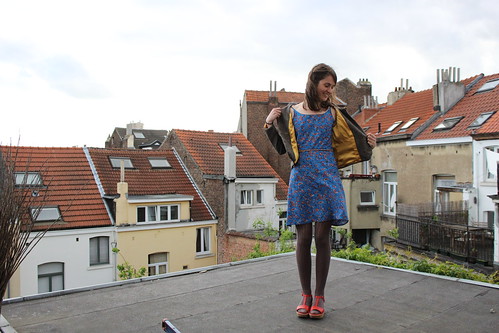
When I saw the Jackie pattern I knew I wanted to transform the Chanel-style sophisticated cut to something a bit more 'twee', without being overtly so; a bit bookish without being too 'librarian chic'. The peter pan collar and the 'spaghetti' strap style of the accompanying dress make it a bit childish, and the tweed and the dipped hem on the skirt make it more grown up, I think. I love strong colour details (particularly orange and yellow hues) that make a fairly standard garment more exciting to wear. I didn't mean to make something that alluded to my Scottish roots but the tweed-effect wool and the Paisley pattern fabric seem to do just that.
The
jacket:
I decided it would be better with a peter pan collar!
Here's the method I used to make mine:
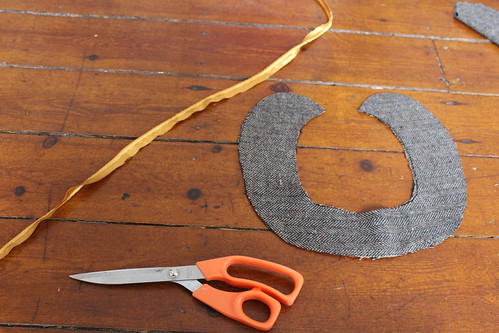
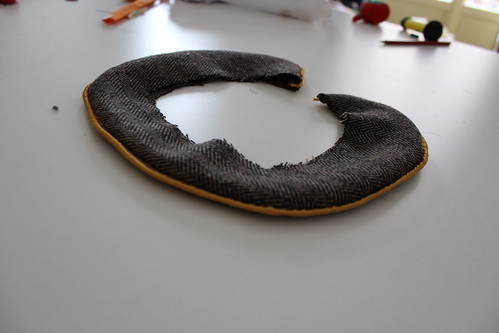
1. Cut out two collar pattern pieces (you can draft your own using your jacket pattern pieces for the shape of the inner collar and for the shape of the outer part of the collar you can just freehand it or use the shape of an existing collar you have on another garment). You can also cut out a layer of interfacing, I didn't because it was already quite bulky. Make sure you have enough piping to go around the outside of the collar. I made the piping by sandwiching some cord into a strip of satin using my zipper foot.
2.Sew on the piping to the right side of one of the pieces as so.
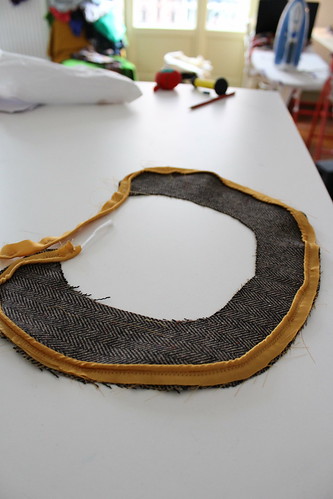
3. Sandwich the piping in by sewing the other collar piece on top.
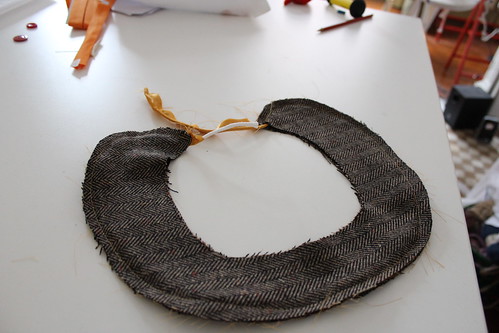
4. Clip the seams, turn it right sides out and press. Now you have a peter pan collar!
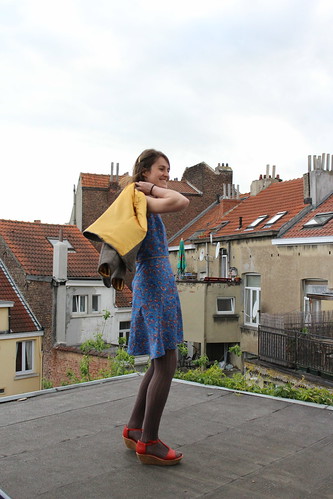
I also drafted lining pieces for the jacket and used the same yellow satin as the collar piping. The yellow satin was 2.50 euro a metre in Berger.
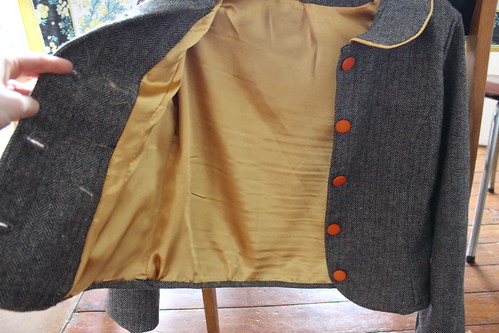
To attach the lining I sewed the lining pieces right sides together to the front bodice and neckline facings. Then I attached the sleeve linings seperately (I looked up the Anise sew-a-long for advice on how to do this). The method I used means you start at the cuff which gives you a clean finish and then you just have to hand stitch the sleeve lining pieces to the bodice lining at the armholes. It was a bit fiddly but it worked out!
I reshaped the corners of the centre front bodice pieces to make them rounder, to match the shape of the collar.
I made the jacket tighter at the back as it was a bit gapy on me when I made the muslin.
I also extended the front bodice to make it wider so I could add buttons and buttonholes so that it can be closed up: it does after all get windy and chilly in Brussels sometimes, as you can see in the photos!

I decided it would be better with a peter pan collar!
Here's the method I used to make mine:
1. Cut out two collar pattern pieces (you can draft your own using your jacket pattern pieces for the shape of the inner collar and for the shape of the outer part of the collar you can just freehand it or use the shape of an existing collar you have on another garment). You can also cut out a layer of interfacing, I didn't because it was already quite bulky. Make sure you have enough piping to go around the outside of the collar. I made the piping by sandwiching some cord into a strip of satin using my zipper foot.
2.Sew on the piping to the right side of one of the pieces as so.
3. Sandwich the piping in by sewing the other collar piece on top.
4. Clip the seams, turn it right sides out and press. Now you have a peter pan collar!
I also drafted lining pieces for the jacket and used the same yellow satin as the collar piping. The yellow satin was 2.50 euro a metre in Berger.
To attach the lining I sewed the lining pieces right sides together to the front bodice and neckline facings. Then I attached the sleeve linings seperately (I looked up the Anise sew-a-long for advice on how to do this). The method I used means you start at the cuff which gives you a clean finish and then you just have to hand stitch the sleeve lining pieces to the bodice lining at the armholes. It was a bit fiddly but it worked out!
I reshaped the corners of the centre front bodice pieces to make them rounder, to match the shape of the collar.
I made the jacket tighter at the back as it was a bit gapy on me when I made the muslin.
I also extended the front bodice to make it wider so I could add buttons and buttonholes so that it can be closed up: it does after all get windy and chilly in Brussels sometimes, as you can see in the photos!
This
is the first time I've made a jacket, the first time I've worked with
relatively thick 'wool', the first time I've worked with satin,
and...the first time I've sewed a pattern with the instructions all
in Dutch! :) I hope I didn't miss any important 'Let op!'
(Attention!) instructions. But I figured that if you know the basics
of how a pattern works all you really need to know is whether the
seam allowances are included or not, luckily I found where the
reference to this was in the booklet - now I can add 'naadwaarden'
to my ever-growing Dutch vocabulary. (And they were not included, so
remember to add them if you make up this pattern.)
I'm really pleased with the jacket all in all, in fact I'm quite proud of it! I'll definitely wear it a lot! Thanks to Sew it Up for pushing me to try something new. The pattern is a really great basic pattern from which you can go in lots of different directions.
Next time I'd press the seams better though, this was the trickiest part with the wool. Perhaps I could really do with getting a tailor's ham (or making one).
The fabric is actually much more of a brown colour, yet the photos make it look quite grey.
It came from the Marché des Abattoirs in Anderlecht from one of the stalls that I've seen a few times now on a Friday (on the left hand side when you enter the market from the Clemenceau metro exit). When I asked the man if he had any wool or material for jackets he said he didn't put it out because it was the wrong season but that if I wanted I could rummage around in his van and have a look. I then spent 15 minutes looking through the material in the van and he let me have four different wool blends (each several metres long) for 15 euros. It was nothing short of a bargain. So with all the wool I have in my stash now I've no excuse not to make more jackets!
The dress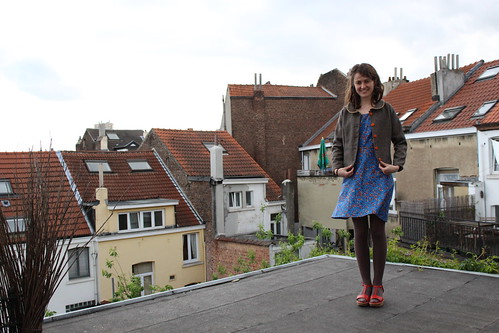
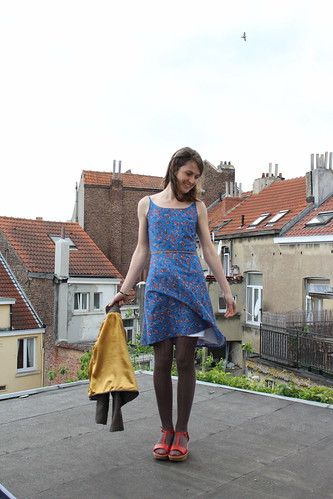
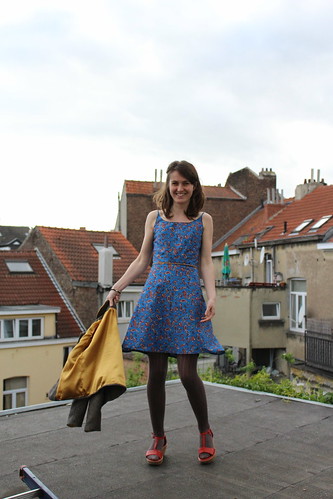
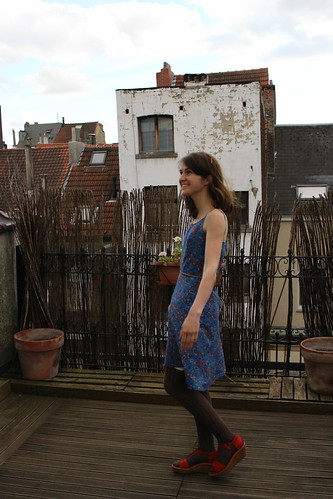
I used my modified Flora dress bodice (see my previous post on my Flora dress to find out about the changes I made to the pattern) and drafted a quarter circle skirt to go with it, using this method.
oooo flat felled seams....
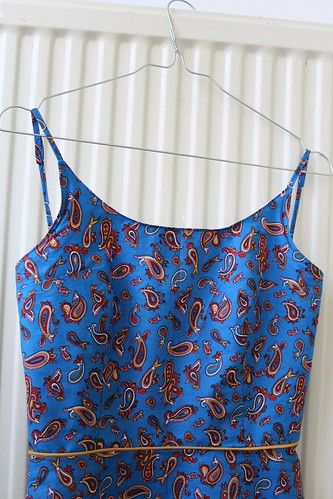
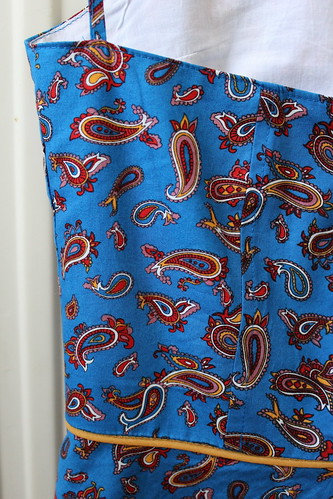
I added yellow piping to the seam when joining the bodice and the skirt pieces.
It is fully lined in cotton batiste.
I altered the hem to make it a dipped hem, in the same vein as variation 2 of the original Flora pattern.The fabric is a cotton paisley print that was bought in Edinburgh last summer from the Cloth Shop.

Can't wait to see everyone's versions! Whoo Sew it up! If you like my jacket you can vote here!
I'm really pleased with the jacket all in all, in fact I'm quite proud of it! I'll definitely wear it a lot! Thanks to Sew it Up for pushing me to try something new. The pattern is a really great basic pattern from which you can go in lots of different directions.
Next time I'd press the seams better though, this was the trickiest part with the wool. Perhaps I could really do with getting a tailor's ham (or making one).
The fabric is actually much more of a brown colour, yet the photos make it look quite grey.
It came from the Marché des Abattoirs in Anderlecht from one of the stalls that I've seen a few times now on a Friday (on the left hand side when you enter the market from the Clemenceau metro exit). When I asked the man if he had any wool or material for jackets he said he didn't put it out because it was the wrong season but that if I wanted I could rummage around in his van and have a look. I then spent 15 minutes looking through the material in the van and he let me have four different wool blends (each several metres long) for 15 euros. It was nothing short of a bargain. So with all the wool I have in my stash now I've no excuse not to make more jackets!
The dress
I used my modified Flora dress bodice (see my previous post on my Flora dress to find out about the changes I made to the pattern) and drafted a quarter circle skirt to go with it, using this method.
oooo flat felled seams....
I added yellow piping to the seam when joining the bodice and the skirt pieces.
It is fully lined in cotton batiste.
I altered the hem to make it a dipped hem, in the same vein as variation 2 of the original Flora pattern.The fabric is a cotton paisley print that was bought in Edinburgh last summer from the Cloth Shop.
Can't wait to see everyone's versions! Whoo Sew it up! If you like my jacket you can vote here!

The jacket looks really nice! So pretty!
ReplyDeletethank you! ;)
DeleteNice!
ReplyDeleteI love your entry Emily! So sorry the instructions were in Dutch only! We forgot about that part! Sorry!
ReplyDeleteNo problem at all! I enjoyed the challenge! :) Turns out I can read better Dutch than I think I can (with the help of google translate of course!)
DeleteReally pretty
ReplyDeleteAwesome! I love that you added buttons, and well done on the dutch!
ReplyDeleteFabulous outfit!! You did an amazing job on the jacket, it looks great!
ReplyDeleteLove your jacket! You really made it your own from the pattern :) Can't wait to hear the results of this challenge!
ReplyDeleteThanks! You too! I loved yours :) I'm nervous and excited for the results....
DeleteGreat dress, looks wonderful on you. I missed your posts as I have realized what a refreshing writer you are. Witty and humorous and honest.
ReplyDeletewhere to buy fabric